This 2006 GMC Sierra came in with multiple problems related to being struck by lightning. It was only during the process of repairing other systems that I noticed that the glass in the driver’s side mirror was etched with actual lightning bolts. I personally think it is kind of cool to have a physical recording of a lightning strike.

A close up of the left lightning bolt.

Anyway back to then actual matter of replacing the mirror assembly. What ever you do, DO NOT try to lift the switch assembly off of the door panel. It is screwed on from the inside of the door panel.

Start by removing the interior handle trim plate.

There is a plastic cap covering a torx screw at the rear edge of the door panel.

With the cover removed the screw can now be taken out.

There is a 7 mm headed screw below the pull handle. There are several 7 mm headed screws involved in removing the door panel and they are different lengths and thread types so please keep them separated.

The door lock panel has to be carefully pried out to reveal the screw in the picture below.

There is another screw on the underside of the door panel as well.

A push pin retainer at the front of the panel. Be careful not to scuff the door panel.

Unsnap the interior trim cover for the mirror. Grab it at the top and pull it away from the door to release the spring clips.

Now lift the door panel straight up and then away from the door. Don’t pull too far though because there are some wires that have to be disconnected.

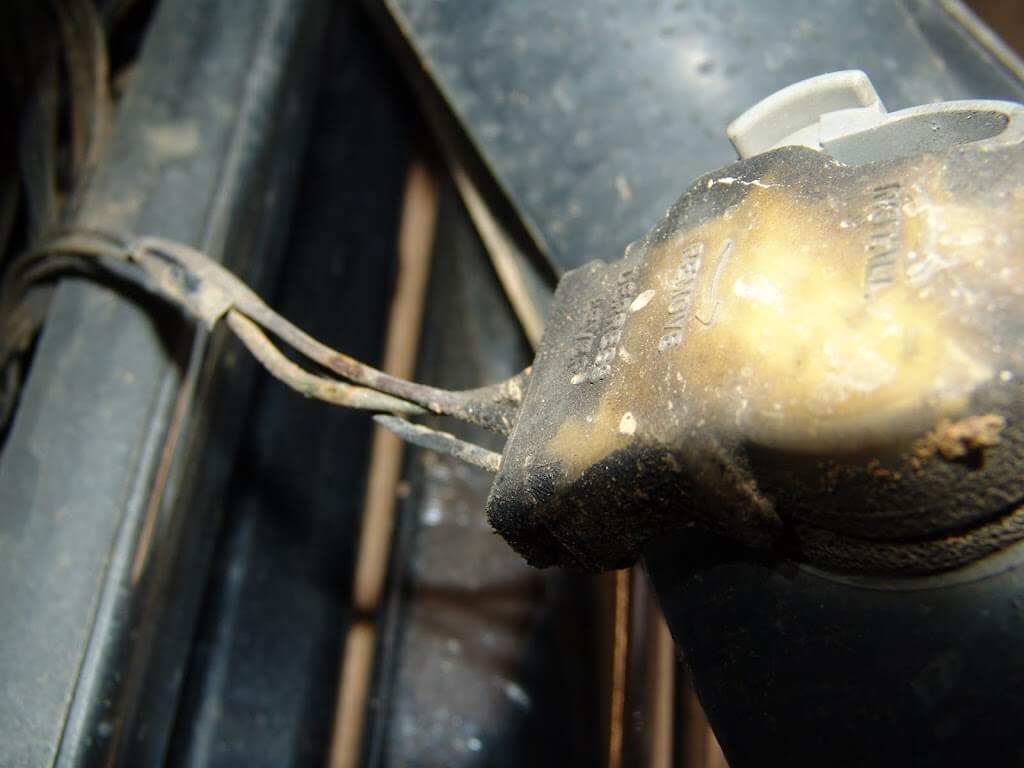
The largest connector is probably the most difficult if you do not know how the locking mechanism works. While attached to the power window switch (actually it is a Diver’s Door Module or DDM) the gray lever would be in front of my finger tip. I am pointing to the lock that has to be depressed before the gray lever can be rotated and the connector released from the DDM.

Just a side view of the connector to left you see the rotating point of the gray lever. The rest of the connectors have locking tabs that have to be depressed using your fingers or a small screwdriver.

Now that the door panel is removed the plastic can be carefully pulled back and the harness retainers can be pull loose from the door.

Pull the foam insulator out of the hole.

Remove the three 10 mm nuts from the mirror studs.

Be careful to support the mirror while doing this so that it will not slip and damage paint.

Reverse the process to assemble. Luckily this was a standard camper type mirror assembly and it does not have any programming involved. Some of the retractable types do have programming involved when the DDM is replaced.


